How to add a status page to your Hugo blog
Shortest guide possible, let’s go ⚡️
Setting up a status page
I recommend onlineornot.com.
- Take your blog’s URL. For me, that’s
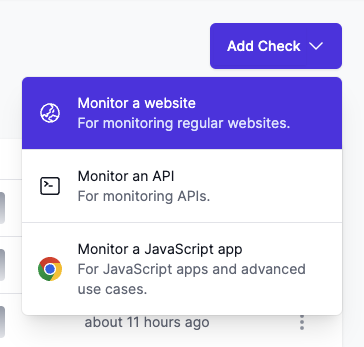
https://mrnice.dev. - Create a new check on that URL. Pick “Monitor a website”.

- Create a status page, and choose
your subdomain. I went with
mrnicedev~> you’ll end up with a URL likehttps://mrnicedev.onlineornot.com.
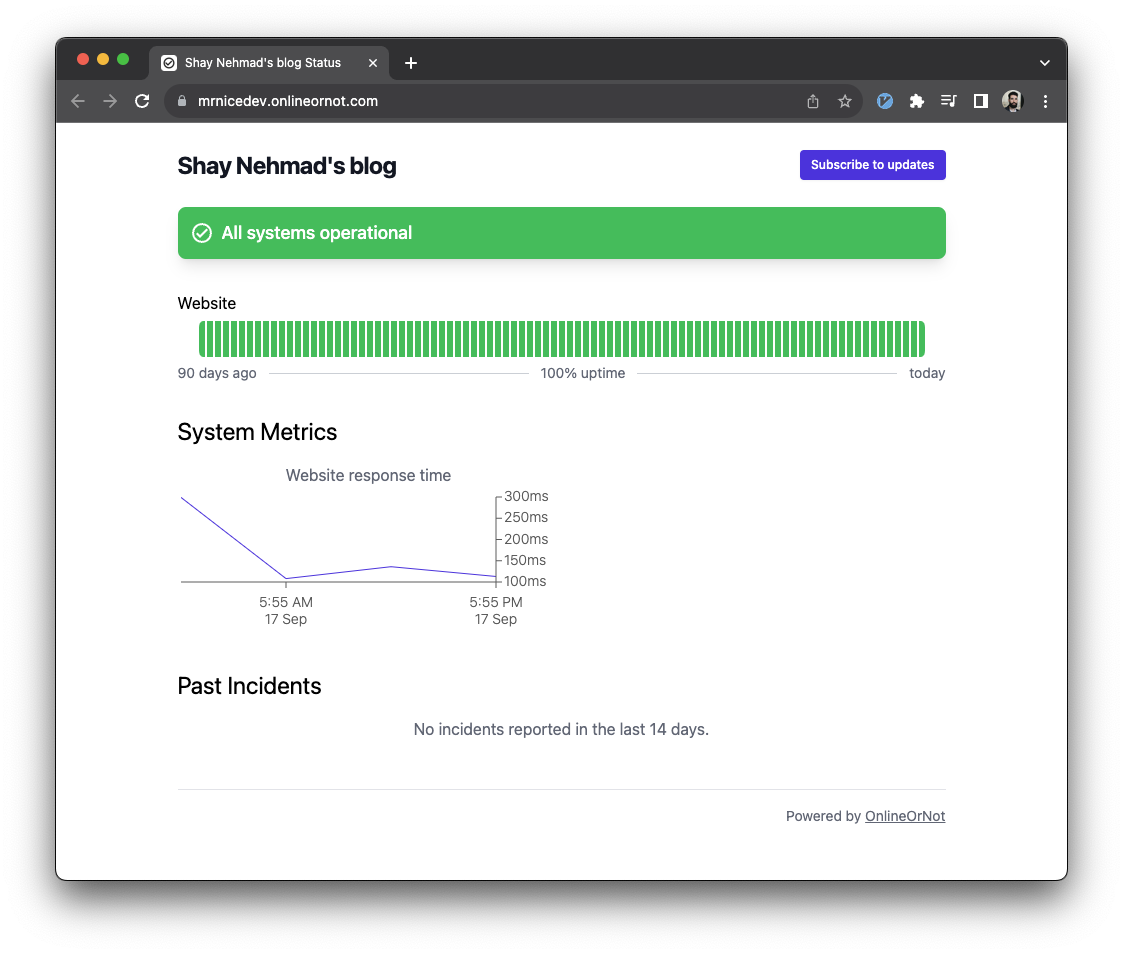
You should get something that looks like this:

Adding the status page link to your blog
We’ll do it from the config.toml file (so it’s easy to change) and using a
with template statement (so if it’s not set, it won’t show up).
Add the link to your blog config
Add the following to your config.toml:
[params]
  statuspage = "https://mrnicedev.onlineornot.com"
Add the link to your blog’s footer
Based on your theme, your milage may vary with the file paths.
Add the following HTML code to your layouts/partials/footer.html:
{{- with .Site.Params.statusPage }}
· <a href="{{.}}" title="Status" target="_blank"><svg>...</svg></a>
{{- end }}
I also added it to layouts/index.html, which has a different custom footer.
You should get something that looks like this. The rightmost ✔️ icon links to the
status page:

That’s it!
Extra credit
Why OnlineOrNot?
OnlineOrNot works really well for me. It’s simple, and has a really good free tier. Also, it was built in the open; you can check out Max Rozen’s blog posts about it here. I really like that. We need more simple services that work well and that are built in public by individuals.
There are other options, but I haven’t tried them and didn’t need to.
Why add a status page to your blog at all?
Sometimes, my blog goes down.

After a few recent downtimes, I figured monitoring the site would be a good idea. I set it up with OnlineOrNot a while ago, and then forgot about it. But I got an email from Max about getting status pages, so I decided to set it up here.